If you’ve looked for hiking footwear recently, no doubt you’ve noticed a dizzying array of options. Here’s a quick guide to finding the right shoe for your foot in five easy steps.
- Which shoe type fits your terrain and hiking style?
- Trail Runner – Heavier than a road running shoe, but still can be light weight. They are designed to support and protect the foot on rugged trails.
- Light Hiker – Made for hiking on well-established trails, they are not meant for extremely rocky, rugged or off trail hiking.
- Mid Hiker – These are sturdier than the light hikers, usually with deeper lugs for increased traction.
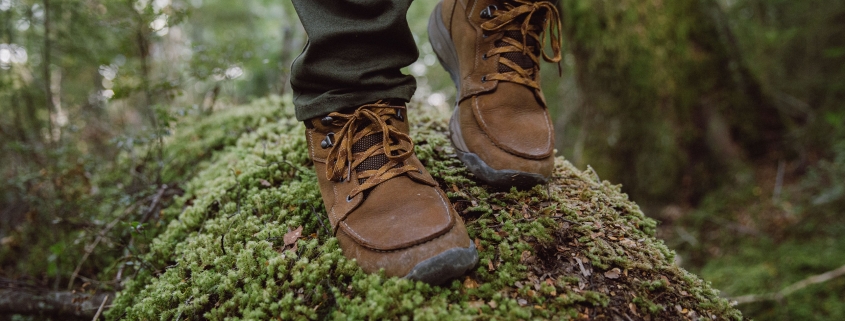
- Heavy Hiker – Sturdy, usually boots that are higher cut and will protect the ankle and foot.
- Boot or shoe?
- A shoe is typically lighter in weight, more flexible and cooler than a boot. Shoes will mold to your foot faster and are often more comfortable out of the box. But they will usually wear out faster than a boot.
- A boot is usually thicker than a shoe and is heavier. Boots will help support the weight of a pack and often feature more dense midsole construction. A boot will usually offers more protection for your ankle.
- Waterproof or non-waterproof?
- For shorter summer hikes, non-waterproof shoes will offer more breathability. They are also often more budget friendly and lighter in weight.
- Waterproof shoes provide valuable protection from the elements on rainy days, stream crossings, and winter hikes. Waterproof shoes do not breathe as well as non-waterproof, and can trap moisture both directions. If you tend to have sweaty feet, keep this in mind. Waterproof shoes are typically a little more expensive than non-waterproof.
- Get a perfect fit.
- No guess work – an in store fitting is the best way to get shoes that work well for you. Our staff is always happy to measure your feet.
- It is very important to try on both shoes. Most people have one foot that is longer than the other and you want to make sure you have a proper fitting for both feet.
- Wear the correct sock when trying on hiking shoes. Make sure they are the same thickness as what you will be hiking in. A medium thickness is typically recommended. No cotton socks – they will give you blisters!
- Check to see if your foot slides when going down hill or your heel is slipping when going up hill. We have a special knot to fix that.
- Shoe size varies from company to company, don’t be surprised if you wear different sizes in different shoes. Some shoes are more narrow, while others can be a little wider. One of our shoe experts can recommend styles that will work well for you.
- Take ’em for a test ride.
- While a proper fitting will get you most of the way to a perfect fit, some issues may not be noticeable on a 10 minute jaunt around the store. Wear your new shoes around inside the house prior to taking them on the trail. I recommend wearing them while vacuuming or doing chores to get a feel for what they will be like during extended wear.
