It’s hard to believe that 2020 is just around the corner! While most of us are full of aspirational goals to make it our best year yet, the statistics are not on our side. The truth is, most New Year’s Resolutions fail. But with a little planning, any worthwhile goal is achievable. Here are three resolutions that our crew succeeded at, and the steps they took to get there.
Resolution #1 Make More Time for Family
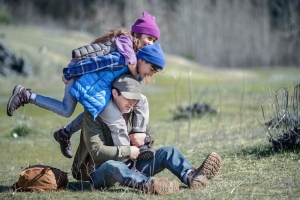
With the fast pace of modern life, quality family time isn’t just going to happen. You have to make it intentional and fun. The outdoors make an awesome setting for activities that the whole family can enjoy. These tips for raising kids who love the outdoors are a great place to start.
Try creating a weekly or monthly tradition to get the crew together – like a Saturday morning hike, an after work walk at the Arboretum, or a weekend visit to Sliding Rock. On those days when the weather doesn’t cooperate, try a screen free indoor activity. Check out Well Played Board Game Cafe in downtown Asheville, Appalachian Pinball Museum in Hendersonville, or hit up your local bowling alley.
If your kids are used to spending the weekends with friends, consider inviting them to be a part of your family day. It’s an easy way to get your kids more excited and get to know the people they enjoy spending time with.
Be sure to stop by Frugal Backpacker and pick up a passport for our Kid’s Hiking Challenge. It’s absolutely free, and it’s a fun way for to get kids excited about hiking and earn some gear.
Resolution #2 Make Green Choices
We’re constantly surrounded by single use convenience items, and when you’re busy, they can feel impossible to avoid. Lunch on the go? Served in a takeout box with a plastic fork. That extra cup of morning coffee? Served in a disposable cup with a plastic lid, and if you like your coffee extra hot like me, you better double cup it. Pre-washed veggies? Single use cleaning products? You get the idea.
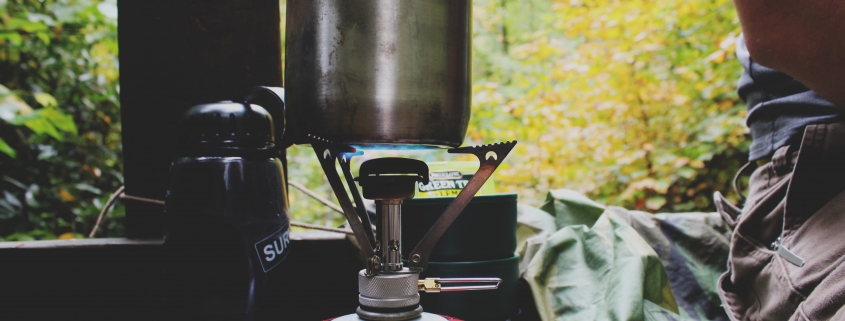
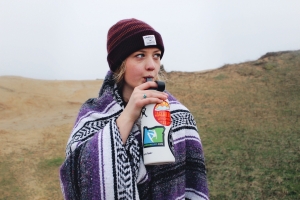
Preparation is key to avoiding these pitfalls. Keep a water bottle, reusable straw, and reusable shopping bags in your car, and you’ll be ready for whatever. Instead of taking your lunch to go, spend a few minutes eating inside, or better yet, try to prepare a simple snack in advance to take with you. Smoothies have become a lifesaver for me. They make it possible to whip up a healthy meal in just a couple minutes with frozen fruits and veggies and protein powder. I pour mine in a Hydro Flask insulated cup and it stays chilled all day.
Another great way to reduce your carbon footprint is by avoiding cheaply made items and fast fashion. It may cost a little more initially, but if you invest in a few quality items, you’ll wind up spending a lot less in the long run, and reduce what winds up in the landfill. Frugal Backpacker often carries closeout deals and samples from top brands, so you can find high quality items at affordable prices.

Resolution #3 Explore New Places
Exploring new places is an incredible way to expand your horizons and have unique experiences. What qualifies as a new place? That’s the beauty of it – it’s up to you!
- Have you always wanted to travel internationally? Pick a couple of potential dates, sign up for flight deal notifications (Scott’s Cheap Flights is an excellent resource), and check out these tips for traveling frugally.
- Do you want to try more of the amazing food our area offers? Check out Asheville Independent Restaurant Association or Greenville Restaurant Week, and make a list of the places you’re excited to try.
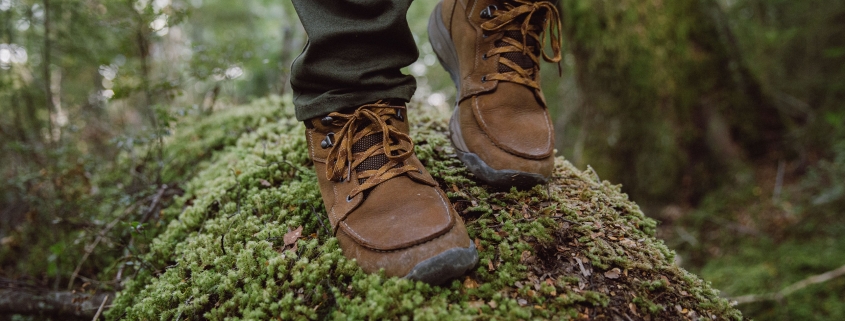
- In a bit of a hiking rut? Explore some our crew’s favorite trails or search All Trails for routes that you haven’t tried before.
Our crew loves sharing their favorite trails and local spots. Next time you’re in the store, just ask!